A website mockup is the visual version of your future site before a single line of code gets written, and it’s probably the most cost-effective step in the entire creation process. Whether you’re launching your first showcase site or preparing the redesign of an existing platform, this step lets you validate structural, navigational and design choices with images rather than words, which dramatically reduces the back-and-forth and the bills during development. Here’s how to build a concrete mockup, which tools to use and what it actually costs in Switzerland and France.
What exactly is a website mockup?
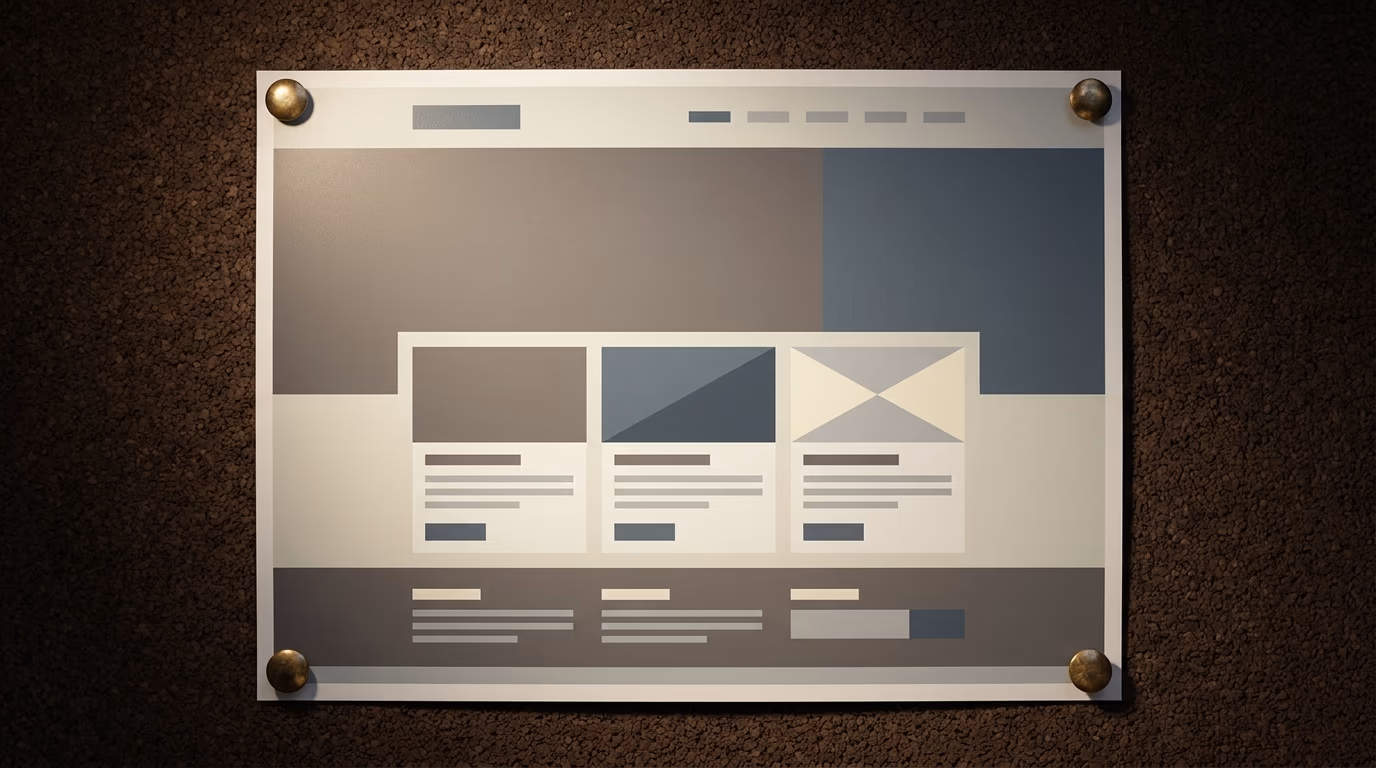
A website mockup is a static visual representation of what your finished pages will look like, showing the placement of the logo, the navigation menu, text blocks, images and call-to-action buttons, all rendered in the final colours, fonts and proportions.

It sits between a wireframe, which is a stripped-down version made of grey rectangles, lines and placeholder text with no real colours or images, and a prototype, which adds interactivity by letting you click buttons, open dropdown menus and move between pages. The wireframe establishes the structure, the mockup dresses that structure in your visual identity, and the prototype makes it functional so you can test the actual user journey before development begins.
For a freelancer or small business working with an external provider to build a website, the mockup acts as a visual contract because it shows exactly what the developer will build. You’re no longer signing off on “a homepage with a hero section and three service blocks” described in a document; you’re approving a faithful image of that page with your own content and your own colours, which reduces the gap between what you imagined and what the developer understood to almost nothing.
In the broader website creation or redesign process, the mockup typically comes after the design brief that defines the objectives, features and expected content, and before the technical development itself. This is the exact moment when visual decisions get locked in, and that’s precisely why this step is so valuable: changing a button in a mockup takes thirty seconds, while changing the same button in a coded site can take half a day of work.
Why should you create a mockup before building?
Creating a mockup before moving to code lets you catch navigation problems, visual hierarchy issues and user flow gaps at a point when fixing them costs almost nothing.
The first benefit is financial, and it’s measured in francs saved during development. When a designer produces a mockup and you ask them to move the contact form from the About page to the homepage, it takes five minutes of work in the design tool. If the same request comes three weeks into development, it can mean restructuring the navigation logic, reworking already-coded components and updating automated tests, which can represent several hours of billable work. The further a project advances, the more expensive each change becomes, and the mockup is the last moment when those changes remain cheap.
The second benefit is about communication with your service provider. A well-written design brief, even a very detailed one, always leaves room for interpretation when it describes “clean, intuitive navigation” because that description doesn’t mean the same thing to everyone involved. The mockup eliminates that ambiguity by replacing written descriptions with actual images, giving every stakeholder a shared reference document where anyone can point to a specific element and discuss it with precision.
The third benefit is strategic, because visualising the complete visitor journey before development lets you test whether your site actually meets its business goals. Is your contact button visible without scrolling on mobile? Does a visitor understand in three seconds what you offer? Does the purchase flow require seven clicks when three would do? These questions find their answers in the mockup, not in the code, and answering them at this stage is free while correcting them later represents additional budget.
Finally, the mockup protects your overall investment. A showcase website typically costs between CHF 3,000 and 8,000, and an e-commerce site can exceed CHF 15,000. Investing between CHF 500 and 1,500 in a solid mockup to protect that budget is the equivalent of an architect drawing the plans for a house before the builder lays the first brick.
Wireframe, mockup or prototype: what’s the difference?
The wireframe, mockup and prototype are three successive stages of visual website design, and each one serves a distinct purpose in the creation process.
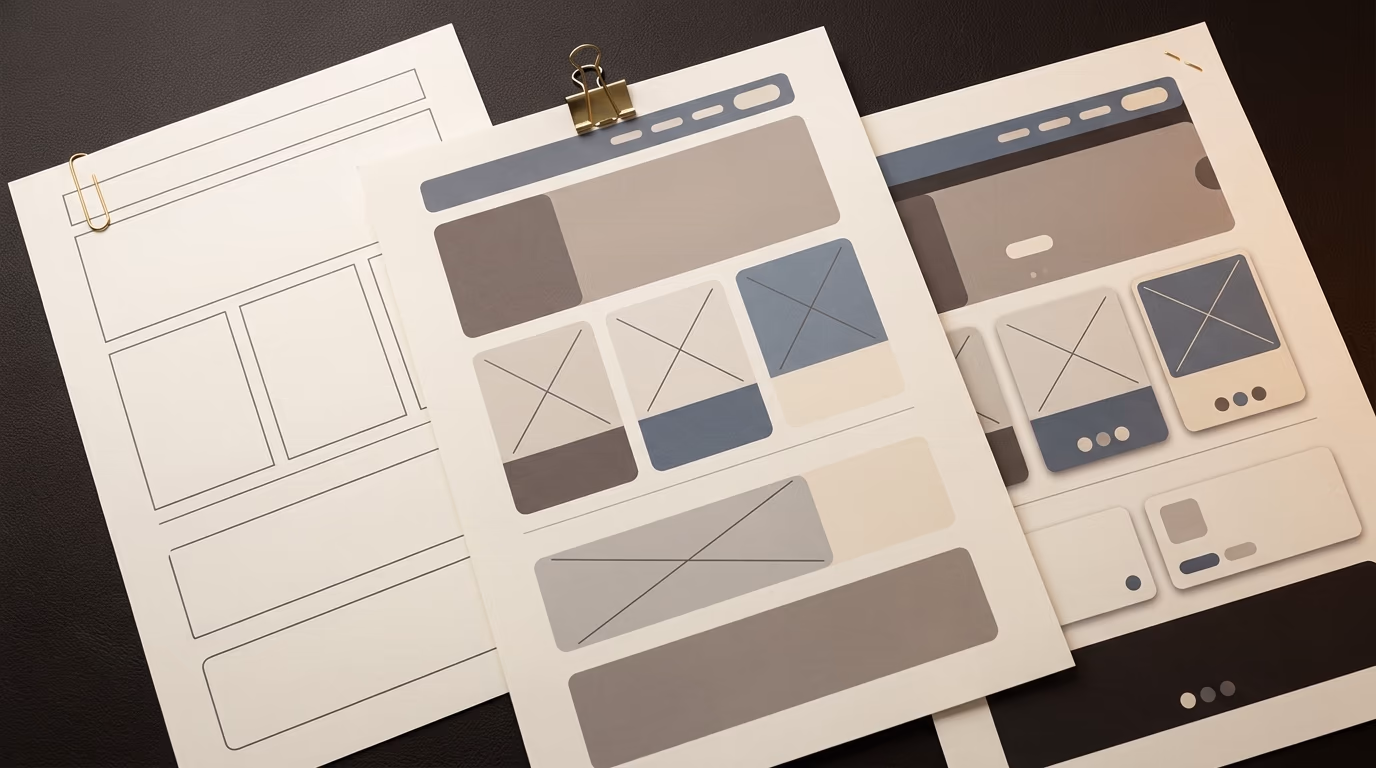
The wireframe, sometimes called a page skeleton or content layout, is the most schematic version of the design work. It consists of grey rectangles, lines and dummy text blocks arranged on a grid, and its role is to define the structure of the page: how many columns there are, where the menu sits, which area holds the main content and where the call-to-action goes. It’s typically drawn in black and white with no concern for colours, images or typefaces, because it needs to answer only one question: is the organisation of information on this page logical and clear enough for visitors to find what they need?
The mockup takes that structure and gives it its final appearance by replacing the grey rectangles with actual images, swapping dummy text for your real content or realistic placeholders, and applying your brand colours and chosen fonts. It’s a static document, meaning you can’t click on anything or interact with it, but it faithfully shows what each page will look like once built. Most web projects for small and medium businesses stop at this stage before moving to code, because the mockup provides enough detail for the developer to work without ambiguity or unwanted surprises.
The prototype goes one step further by adding interactivity to the mockup screens, allowing you to click buttons, watch menus open, fill out forms and move between pages as if you were using a real site. It’s particularly valuable for e-commerce sites or custom business applications where the user journey involves many steps and every point of friction removes conversions. For a showcase website of five to ten pages, however, a full prototype represents an investment that’s rarely justified, and the mockup alone covers the vast majority of needs.
The practical takeaway is straightforward: start with a quick wireframe to lock down the structure, move to a mockup to validate the visual design with all stakeholders, and add prototyping only if your site involves complex user flows or interactive features that need real testing before development begins.
How do you create a website mockup in 5 steps?
Creating a mockup requires a method far more than it requires professional design skills, and the five steps below work just as well for someone using an online tool for the first time as they do for a studio that works in Figma every day.
The first step is gathering your content and your objectives before opening any design tool at all. List the pages your site needs (home, services, about, contact, blog, legal notices), identify the text and images you already have, and write down the primary goal of each page: should the homepage trigger a contact request or showcase your product catalogue? Should the services page compare multiple offerings or detail a single service in depth? If you’ve already written a design brief, this step is essentially done because the thinking has already been captured there.
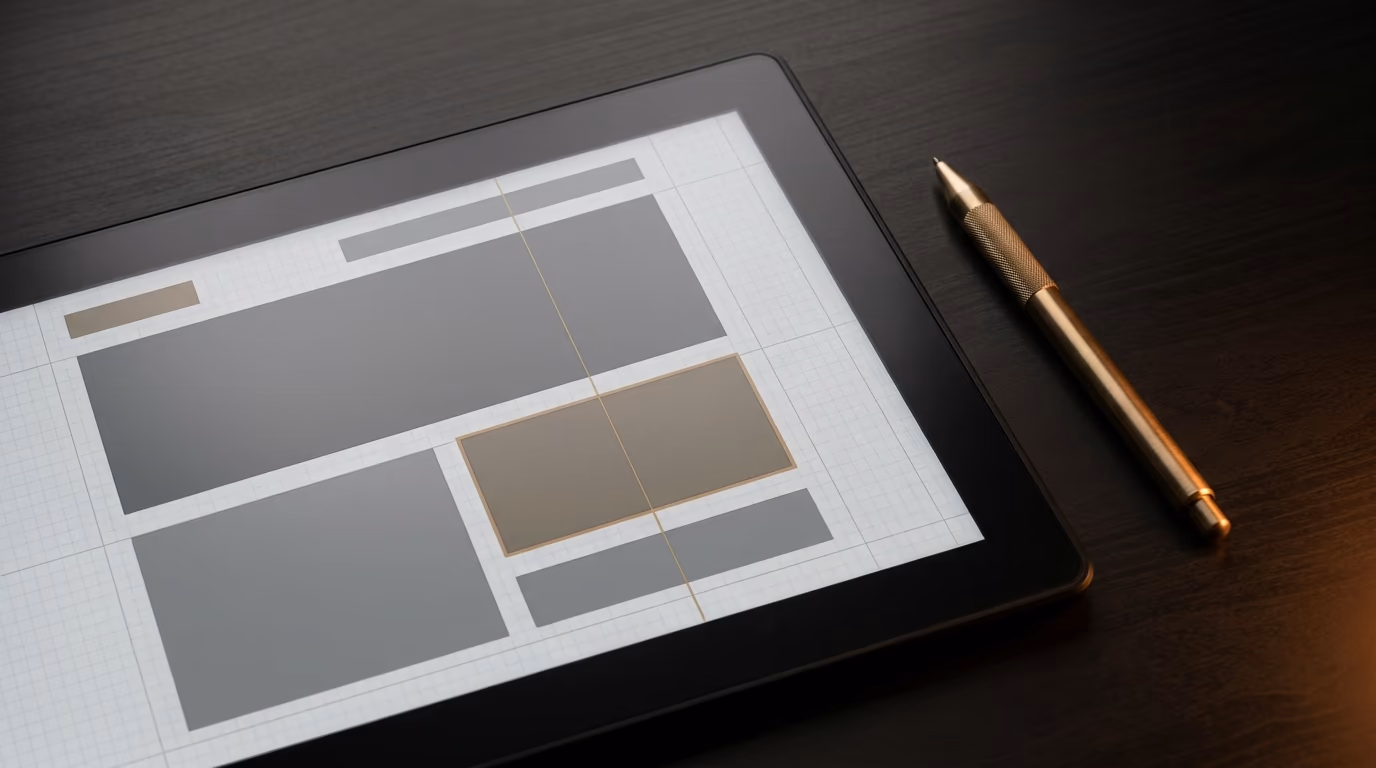
The second step is a quick wireframe, which means laying out the structure of each page on paper or on screen using simple shapes. Draw rectangles for each zone (header, text block, image placeholder, action button, footer) and arrange them vertically in the order a visitor will discover them as they scroll. At this stage, don’t worry about colours or images at all; focus entirely on the logic of the user journey and the hierarchy of information. A homepage wireframe typically fits on a single A4 sheet, and the complete set of wireframes for a six-page site can be sketched in one to two hours without any particular design skills.
The third step is choosing your visual identity, which includes a colour palette (three to five colours maximum, with one accent colour for buttons and important elements), two typefaces (one for headings and one for body text), and a direction for the style of imagery you’ll use (professional photography, custom illustrations or iconography). If your business already has a brand guideline document, you simply apply it to the mockup without additional effort, and if it doesn’t, this step takes a bit more thought but it’s essential for giving your mockup a cohesive and professional look.
The fourth step is building the mockup itself in a dedicated tool like Figma or Penpot. You take the structure from your wireframes and dress it with your colours, fonts and real or realistic content, starting with the homepage that sets the tone for the entire site and then extending the style to the other pages. Make sure to design at least two screen widths: a desktop format (1440 pixels wide is the current industry standard) and a mobile format (375 to 390 pixels), because the majority of your visitors will probably arrive from a phone.
The fifth step is review and validation by people outside the project. Show the mockup to a colleague, a friend or a potential customer and ask them to describe what they understand from each page within a few seconds. If their answer doesn’t match your intended goal, the mockup needs adjustments before moving to development, and this feedback loop is the last safety net before the technical phase begins, rarely taking more than half a day to complete.
Which tools should you use to create your mockup?
The tool you choose depends on your technical level, your budget and the complexity of your project, but three categories cover the vast majority of current needs.
Figma has become the industry standard for web design, and it’s completely free for individual use with up to three active projects that run entirely in the browser, requiring no installation whatsoever. Its interface lets you create wireframes, mockups and prototypes within the same tool, and its reusable components speed up the work as soon as you start on your second screen. For an entrepreneur who wants to create their own mockup, the learning curve requires about two to four hours of video tutorials, but the result will be professional enough to hand directly to a developer. Figma also lets you share a viewing link with your service provider so they can add comments directly on the mockup, which replaces the often-confusing exchanges of screenshots over email.
Penpot is the free and open-source alternative to Figma, hosted in Europe and without any limitation on the number of projects or files you can create. Its interface closely mirrors Figma’s, the export formats are compatible and, for a business that cares about keeping its data on European servers, it’s a relevant choice that costs nothing at all. It still lacks the depth of Figma’s plugin ecosystem and some advanced prototyping features, but for mocking up a site of five to fifteen pages, the available functionality is more than sufficient.
Canva, which many people already know from creating social media visuals, also offers website mockup templates that let you produce a visual result in one to two hours without any technical skills, simply by starting from an existing template and swapping in your own content. The advantage is speed for someone who’s never touched a design tool, but the drawback is that Canva isn’t a true interface design application: the mockups it produces are often too rigid to be prototyped or handed to a developer with pixel-precise dimensions. For a three or four-page site, it’s a reasonable starting point to visualise a direction before investing in a more complete mockup later.
For those who want to incorporate artificial intelligence into the process, tools like Uizard or Relume can generate a first-draft wireframe from a text description of your pages. You describe the sections you want and the tool produces a base structure that you can then refine in the visual interface. It’s useful for accelerating the wireframe phase and quickly exploring multiple directions, but the final mockup will always require human refinement to align the output with your visual identity and actual business objectives.
| Tool | Price | Skill level | Strengths | Limitations |
|---|---|---|---|---|
| Figma | Free (Starter plan) | Intermediate | Professional standard, real-time collaboration, prototyping | Initial learning curve of a few hours |
| Penpot | Free and open source | Intermediate | European data hosting, unlimited projects | Smaller plugin ecosystem |
| Canva | Free or Pro at around CHF 130 per year | Beginner | Speed, ready-made templates | Not a true interface tool, limited export |
| Uizard | Free or Pro at around CHF 140 per year | Beginner | AI-assisted generation, fast wireframes | Generic output that needs manual refinement |
How much does a website mockup cost?
The price of a website mockup depends on three main factors: the number of pages to design, the level of visual fidelity expected and who’s actually doing the work.

If you build it yourself with a free tool like Figma or Penpot, there’s no software cost, but expect to spend between eight and twenty hours on a site of six to ten pages, including the time to learn the tool if you’ve never used it before. For a freelancer whose working hours have a real value, this isn’t truly free: it’s a cost you pay in time rather than money, and it’s worth asking whether those hours would be better spent on your core business while a professional handles the mockup.
A freelance UX/UI designer typically charges between CHF 800 and 2,500 for the complete mockup of a showcase site of five to eight pages, with two to three rounds of revisions included in that price. This covers the initial wireframe, the high-fidelity mockup in both desktop and mobile versions, and a clean, structured Figma file with named components and defined styles that your developer can use directly as a reference. For an e-commerce site of twenty to thirty pages with purchase flows, product filters and a customer dashboard, the budget rises to CHF 3,000 - 5,000 because each additional screen represents real design and testing work.
A web agency charges more for mockup work, typically between CHF 2,000 and 6,000 for a showcase site and between CHF 5,000 and 12,000 for e-commerce, but the price often includes the upstream strategy phase with discovery workshops, user journey mapping and competitor analysis. With some providers, the mockup cost is folded into the overall website creation quote, which means you don’t pay for it separately, though the amount is certainly included in the total project price.
The best value for a small or medium business usually lies with a freelance designer who specialises in UX/UI, because you get a professional mockup at a reasonable rate without the overhead costs of an agency reflected in the invoice. The deciding factor to verify is that the provider delivers an organised Figma or Penpot file with named components and defined styles, because that file will serve as the single source of truth throughout development: a simple PDF or static image doesn’t let the developer inspect dimensions, colours and spacing with the precision needed to reproduce the mockup faithfully in code.
Your mockup is ready, so what happens next?
Once the mockup has been validated, the logical next step is to hand it over to the person or team who’ll build the site, along with the design brief and all the final content you’ve gathered throughout the process.
If you’re working with an external provider, ask them to deliver a first functional version that faithfully reproduces the mockup on at least two pages, the homepage and one interior page, before building out the rest of the site entirely. This approach lets you catch any discrepancies between the mockup and the technical result right at the start, rather than discovering gaps after the whole site is built and corrections become expensive.
Keep the Figma or Penpot file accessible throughout the entire development period, because it serves as the definitive source of truth for settling the design questions that inevitably come up during a project. When the developer wonders whether a button should be green or blue, or whether the margin between two sections measures 40 or 60 pixels, the answer sits in the file and takes thirty seconds to verify, turning subjective debates into factual checks that speed up everyone’s work.
If you’re at the stage of thinking about your website project and you’d like to work with someone who integrates the mockup into the creation process, get in touch to discuss it.